Latest posts
How to use the Qala block “Latest posts”
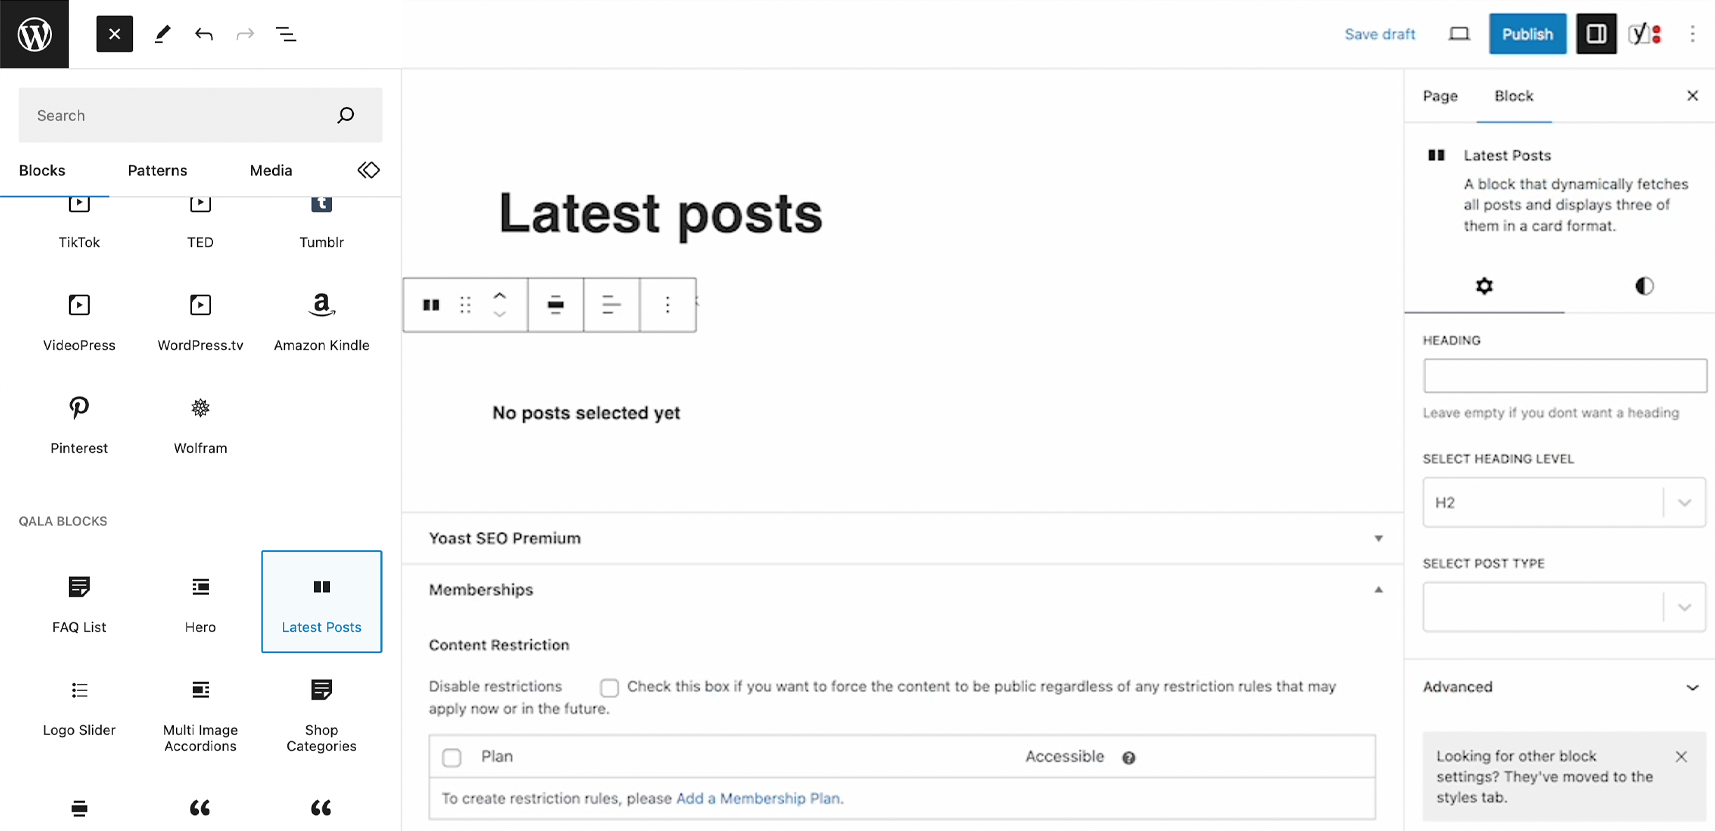
To add the Qala block, press the plus icon, and then Browse all.
You can either scroll down to the section with Qala blocks, or you can just write the name of the block in the search area. Choose “Latest posts”. Make sure it has an icon with two rectangles.
Above the block, you will see six icons. The icon called Align will let you change the width of the block. You can choose between narrow, wide or full screen. Whatever works best for your design.
To the right, you will see your settings. If they are hidden, you can press the icon next to Publish. Make sure you have the Block tab open, not Page.
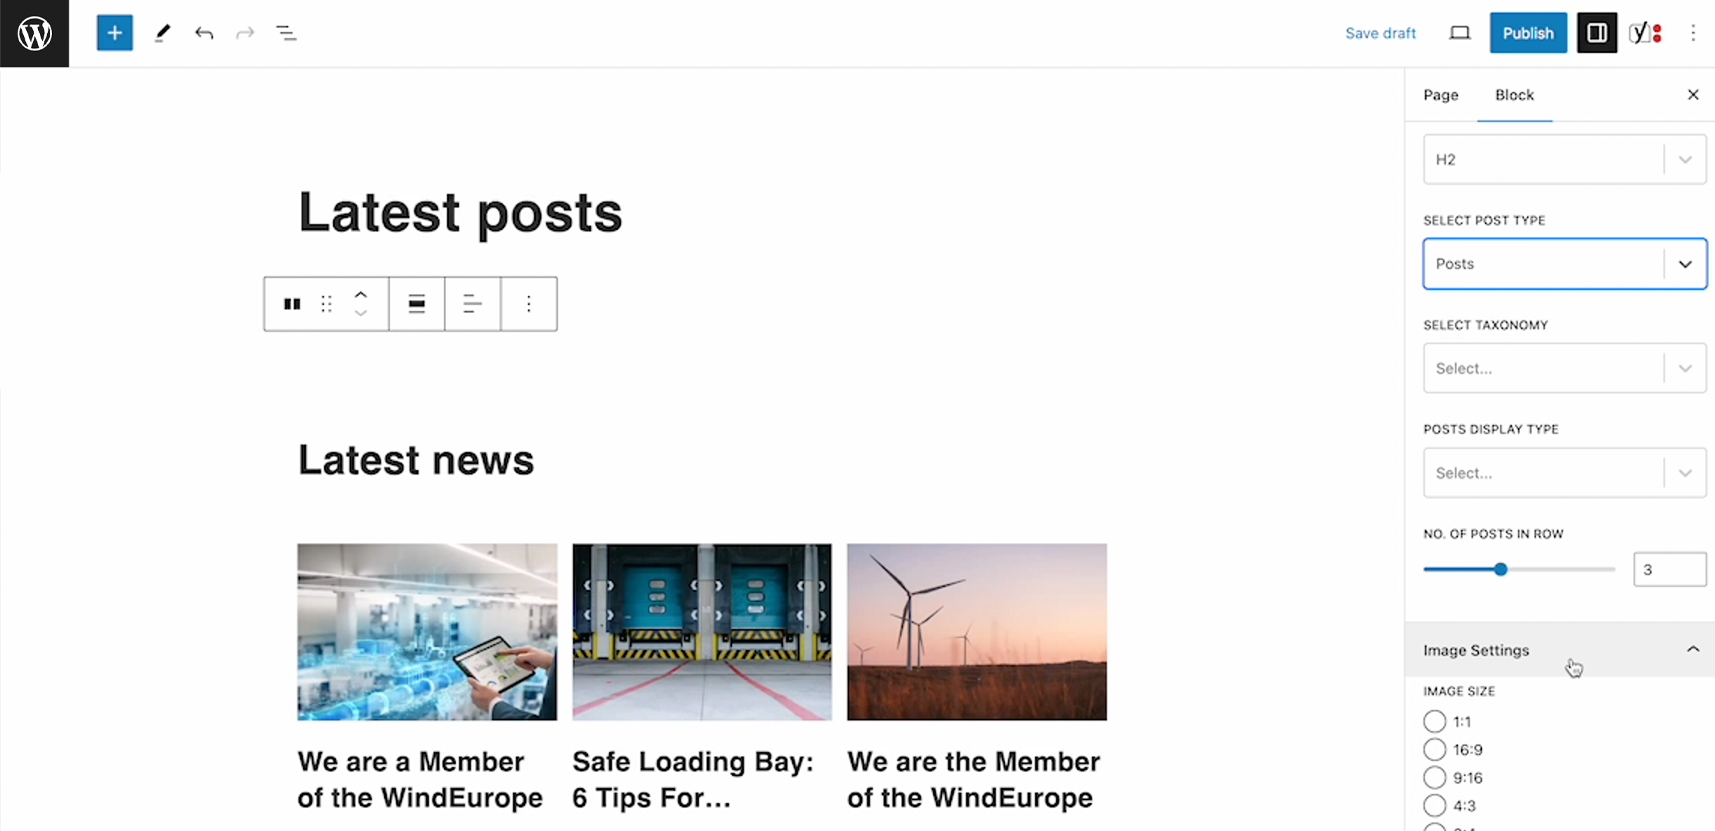
Start by adding your heading. You can leave this empty if you want. The heading can be a H1, H2, H3 or H4.
Underneath, you decide if you want to show posts, pages or products. I’m gonna go with Posts.
Select if you want to narrow it down to a certain category or tag, and how you want to sort them. For instance, show the latest published posts within that category.
Choose how many posts you want to show, and in how many columns. You can also choose to display them in a slider. If you do, there are some settings for arrows, pagination dots and if you want it to loop.
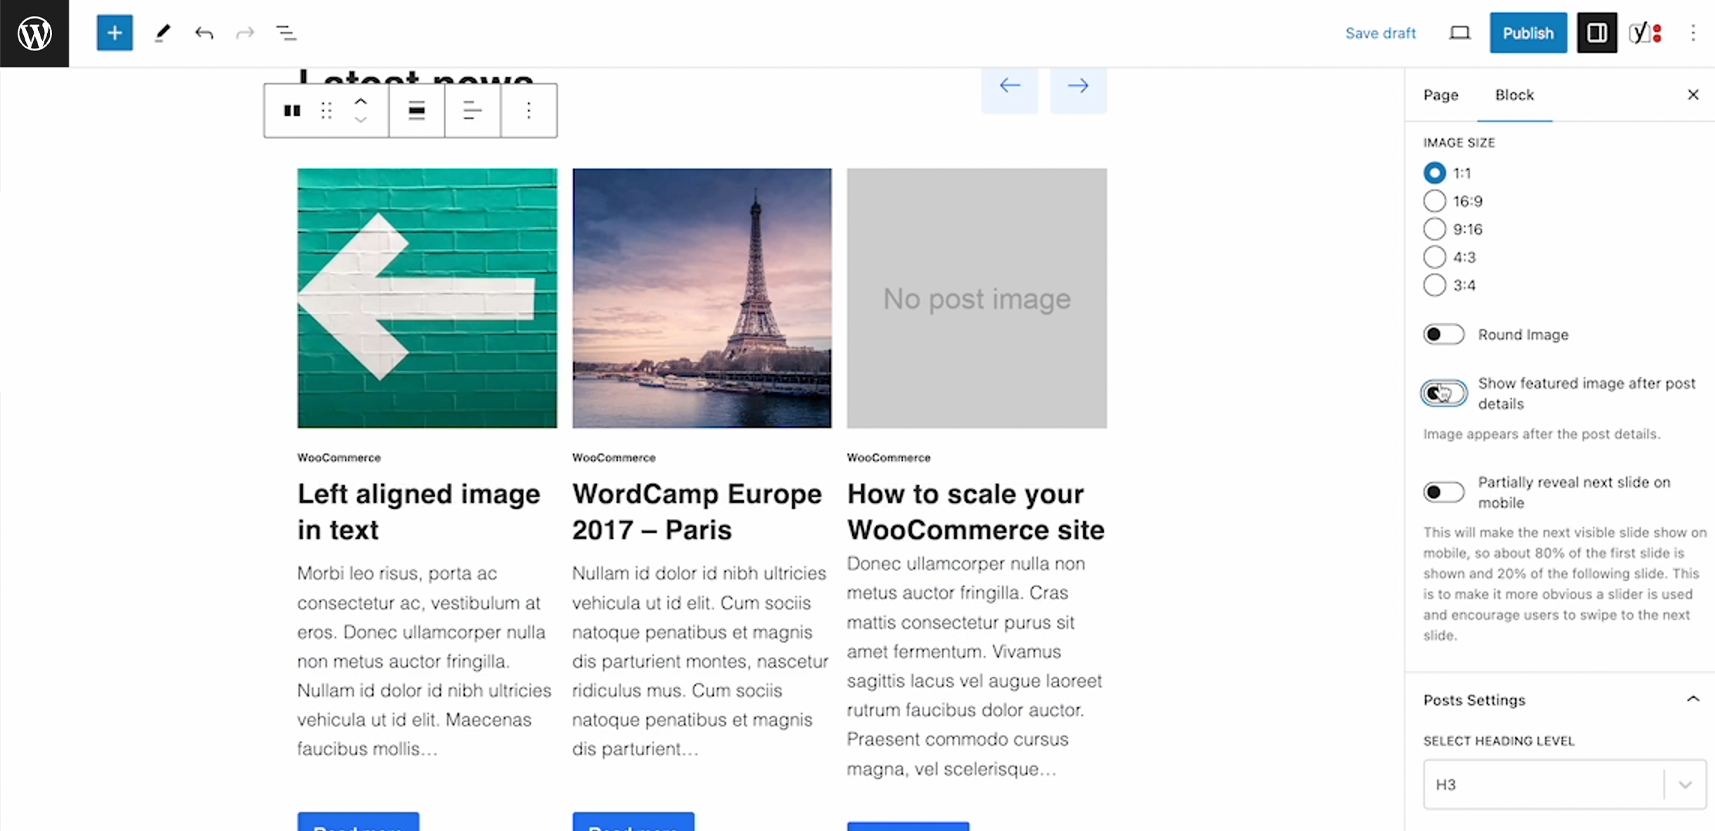
Under image settings you can decide if the featured image should have a square, portrait or landscape style. You can also show the featured image below the post details.
In the Posts Settings, you can decide what to display, when it comes to thumbnail, category title, title, excerpt, author, if you want a read more button etc. Style that button underneath.
If you have other blocks above or after, and you feel that they are a bit too close to each other, go to Dimensions and add padding or margins. You can play around to see what works best for you.
Summary
Add the Qala block Latest posts
Add title select taxonomy
Style it!
Related Qala blocks
Shop categories
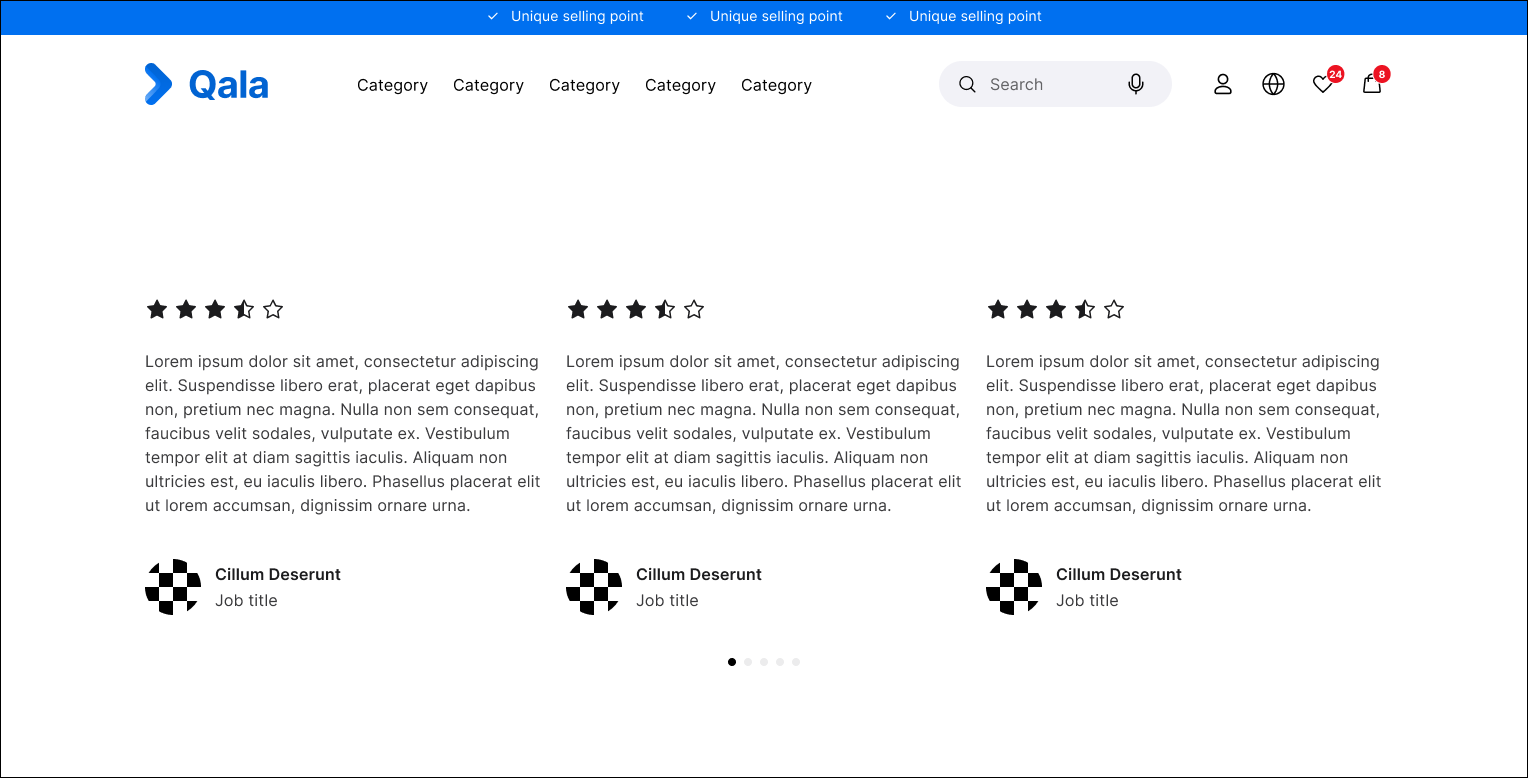
Testimonials
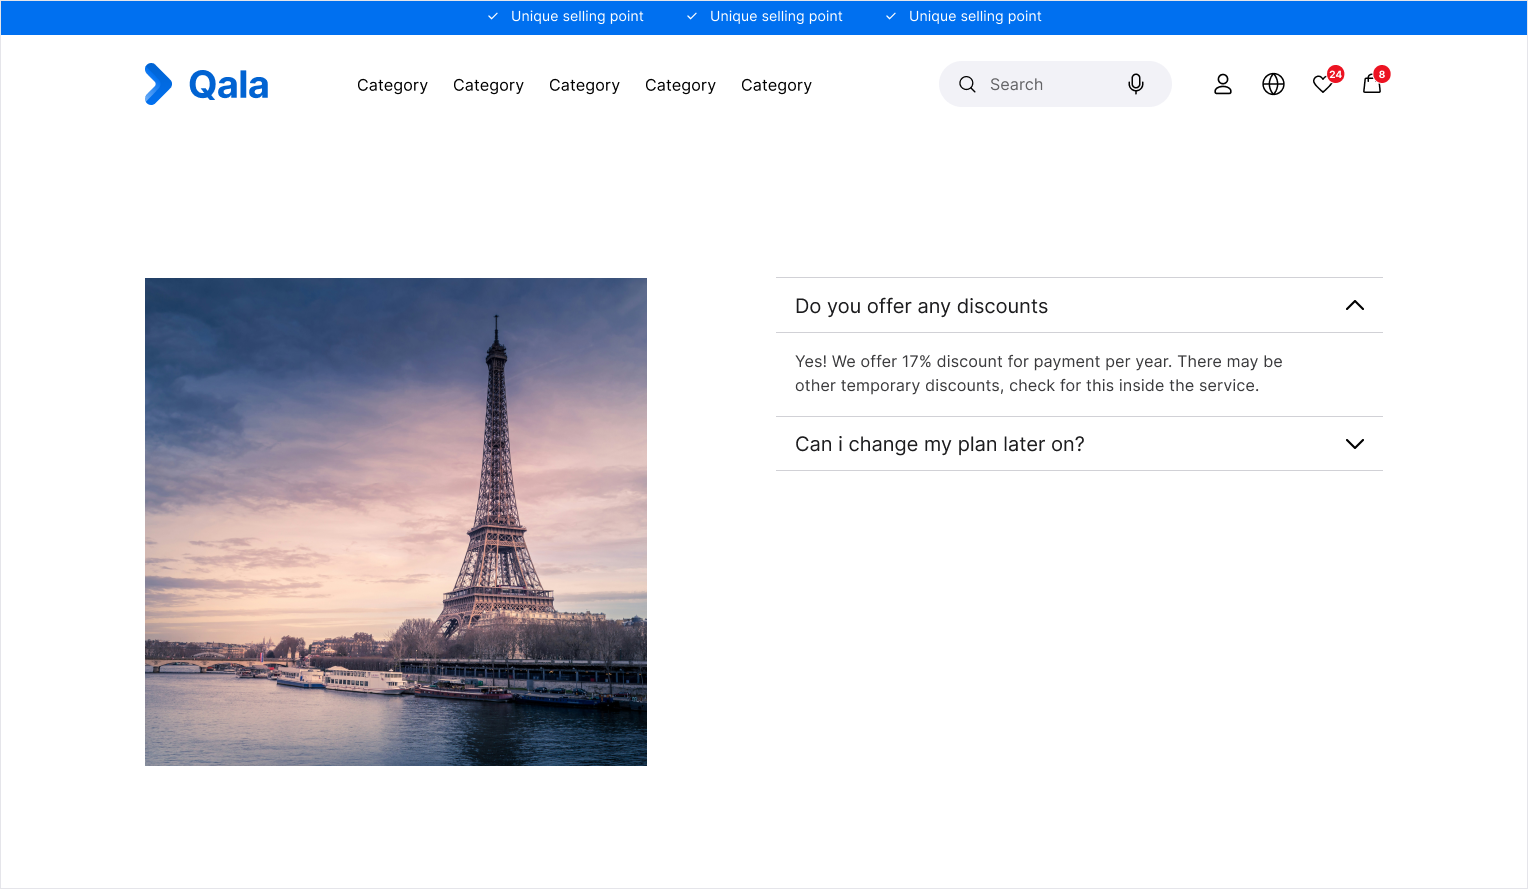
Multi image Accordion