Shop categories
How to use the Qala block “Shop categories”
To add the Qala block, press the plus icon. Press Browse all.
You can either scroll down to the section with Qala blocks, or you can just write the name of the block in the search area. Choose “Shop Categories”.
To the right, you will see your settings. If they are hidden, you can press the icon next to Publish. Make sure you have the Block tab open, not Page.
In these settings you can add your heading and subheading. You have the option to align them to the left or the center.
Under card settings, choose if you want to show or hide the parent category, and if you want the image to be square or portrait style.
Under button settings, you can choose what kind of button you want – size and type – and where you want it – in the middle of the image, or below.
Under button settings you have the columns setting. Here you can set the number of columns you want. If you want it to be a slider, you select that here, and decide if you want to show arrows and if you want the slider to loop.
To start adding products, click on “Pick a Taxonomy”. Here you can choose categories or tags. I’m choosing product categories. I’m gonna go with Clothing. Press enter. Next, pick the specific category you want. Underneath, choose an image by clicking on Set image.
You can either choose an image from the Media Library or you can upload a new image.
To add another product category, press Add card.
Go through the same procedure for each new category you want to add.
Summary
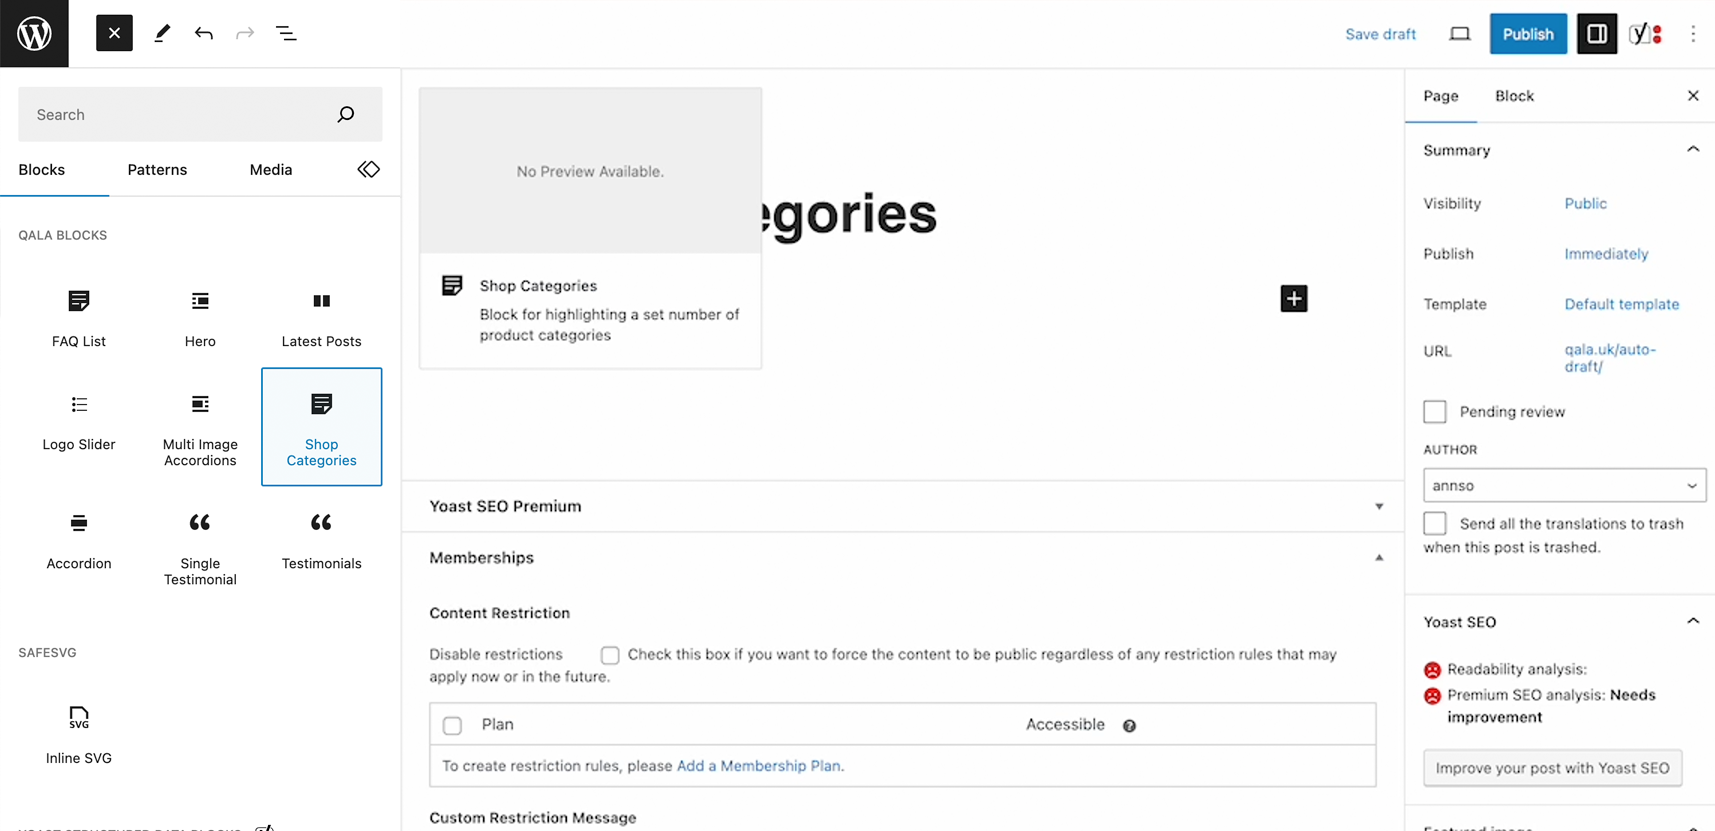
Add the Qala block Shop Categories
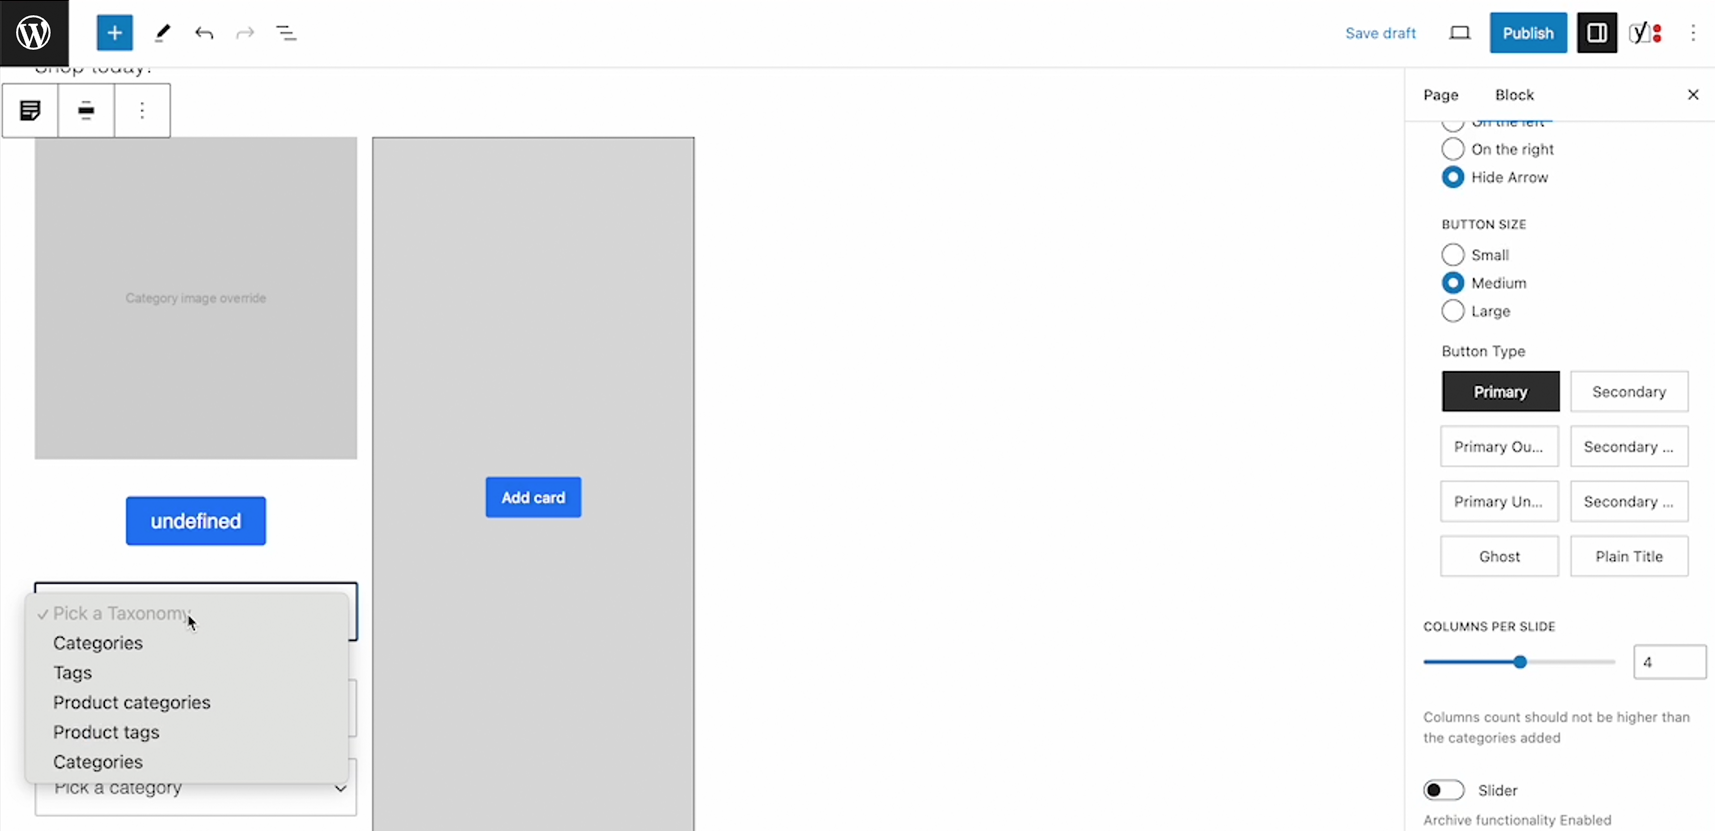
Add a taxonomy and then add specifics
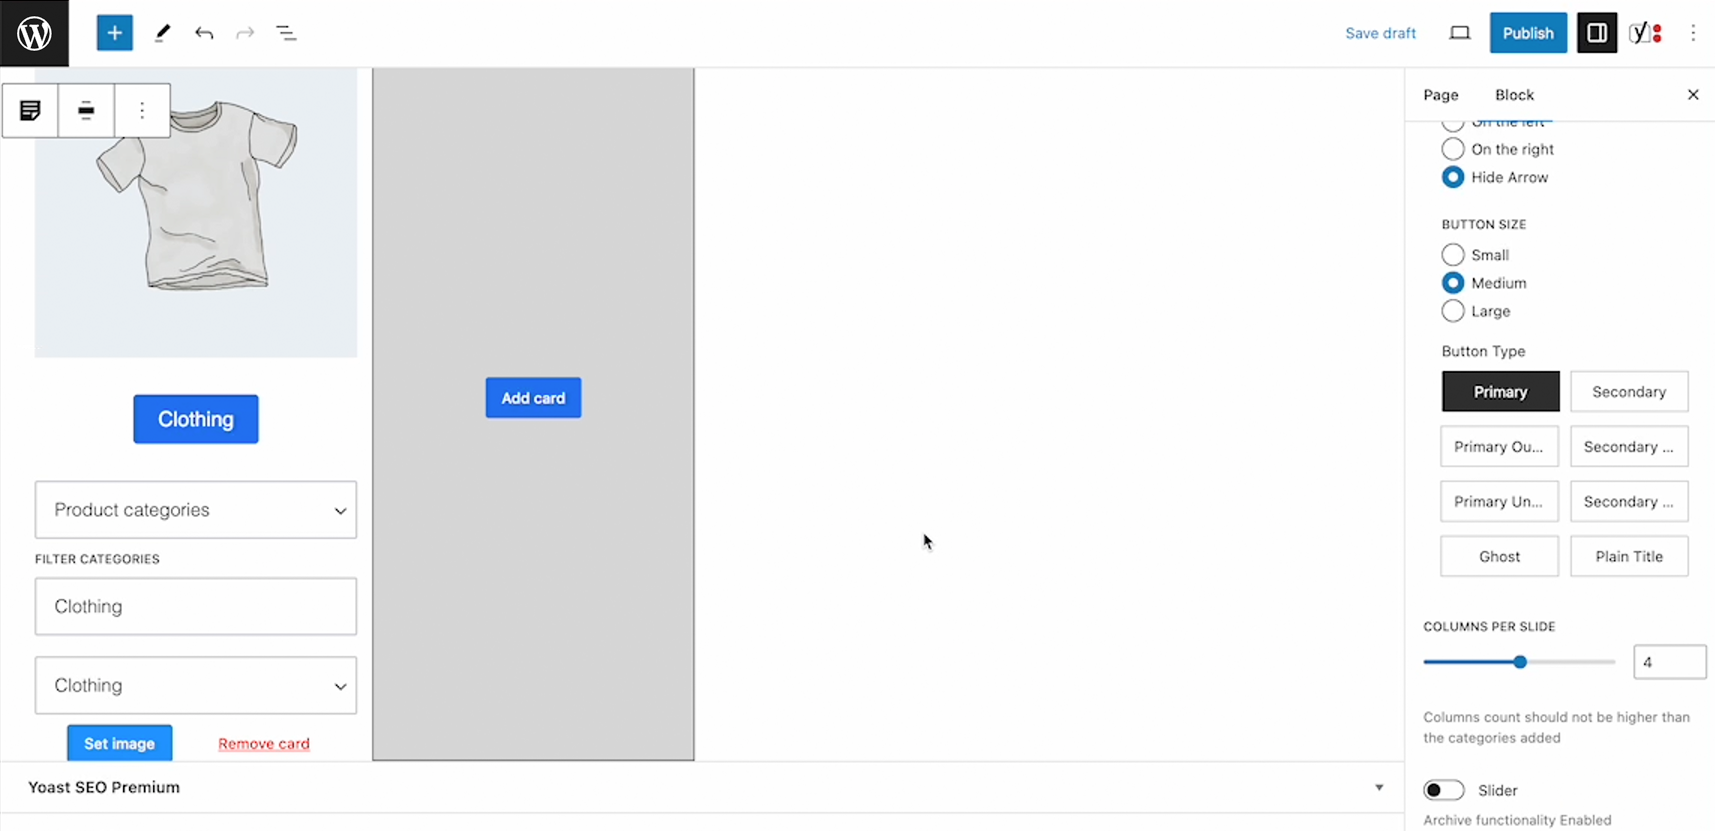
Set the image and style the block
Related Qala blocks
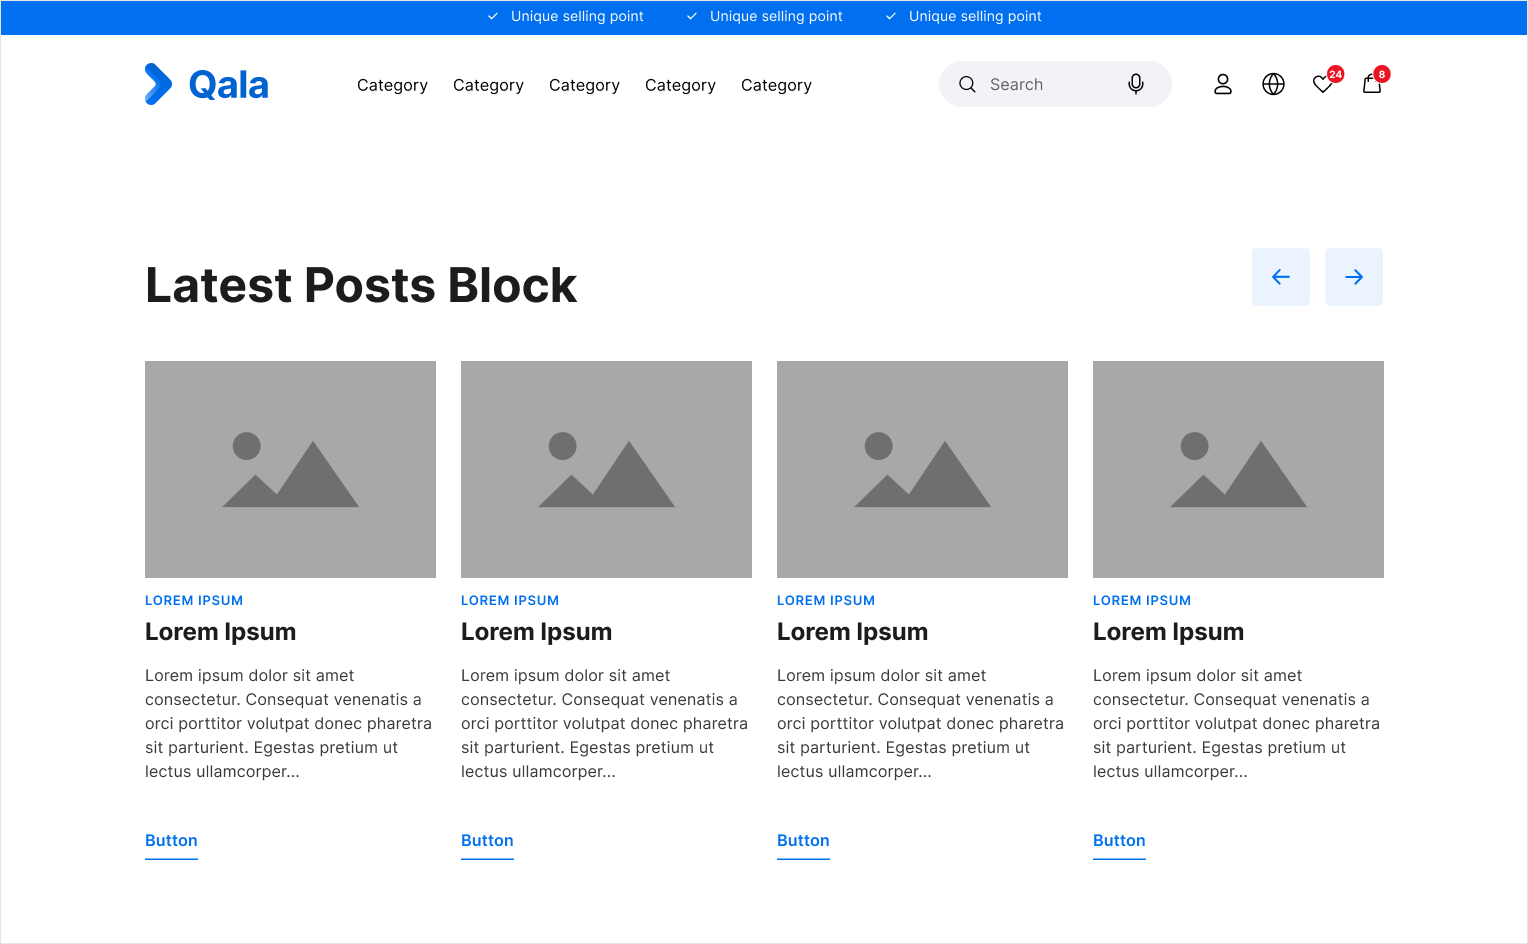
Latest posts
Logo Slider
Multi image Accordion